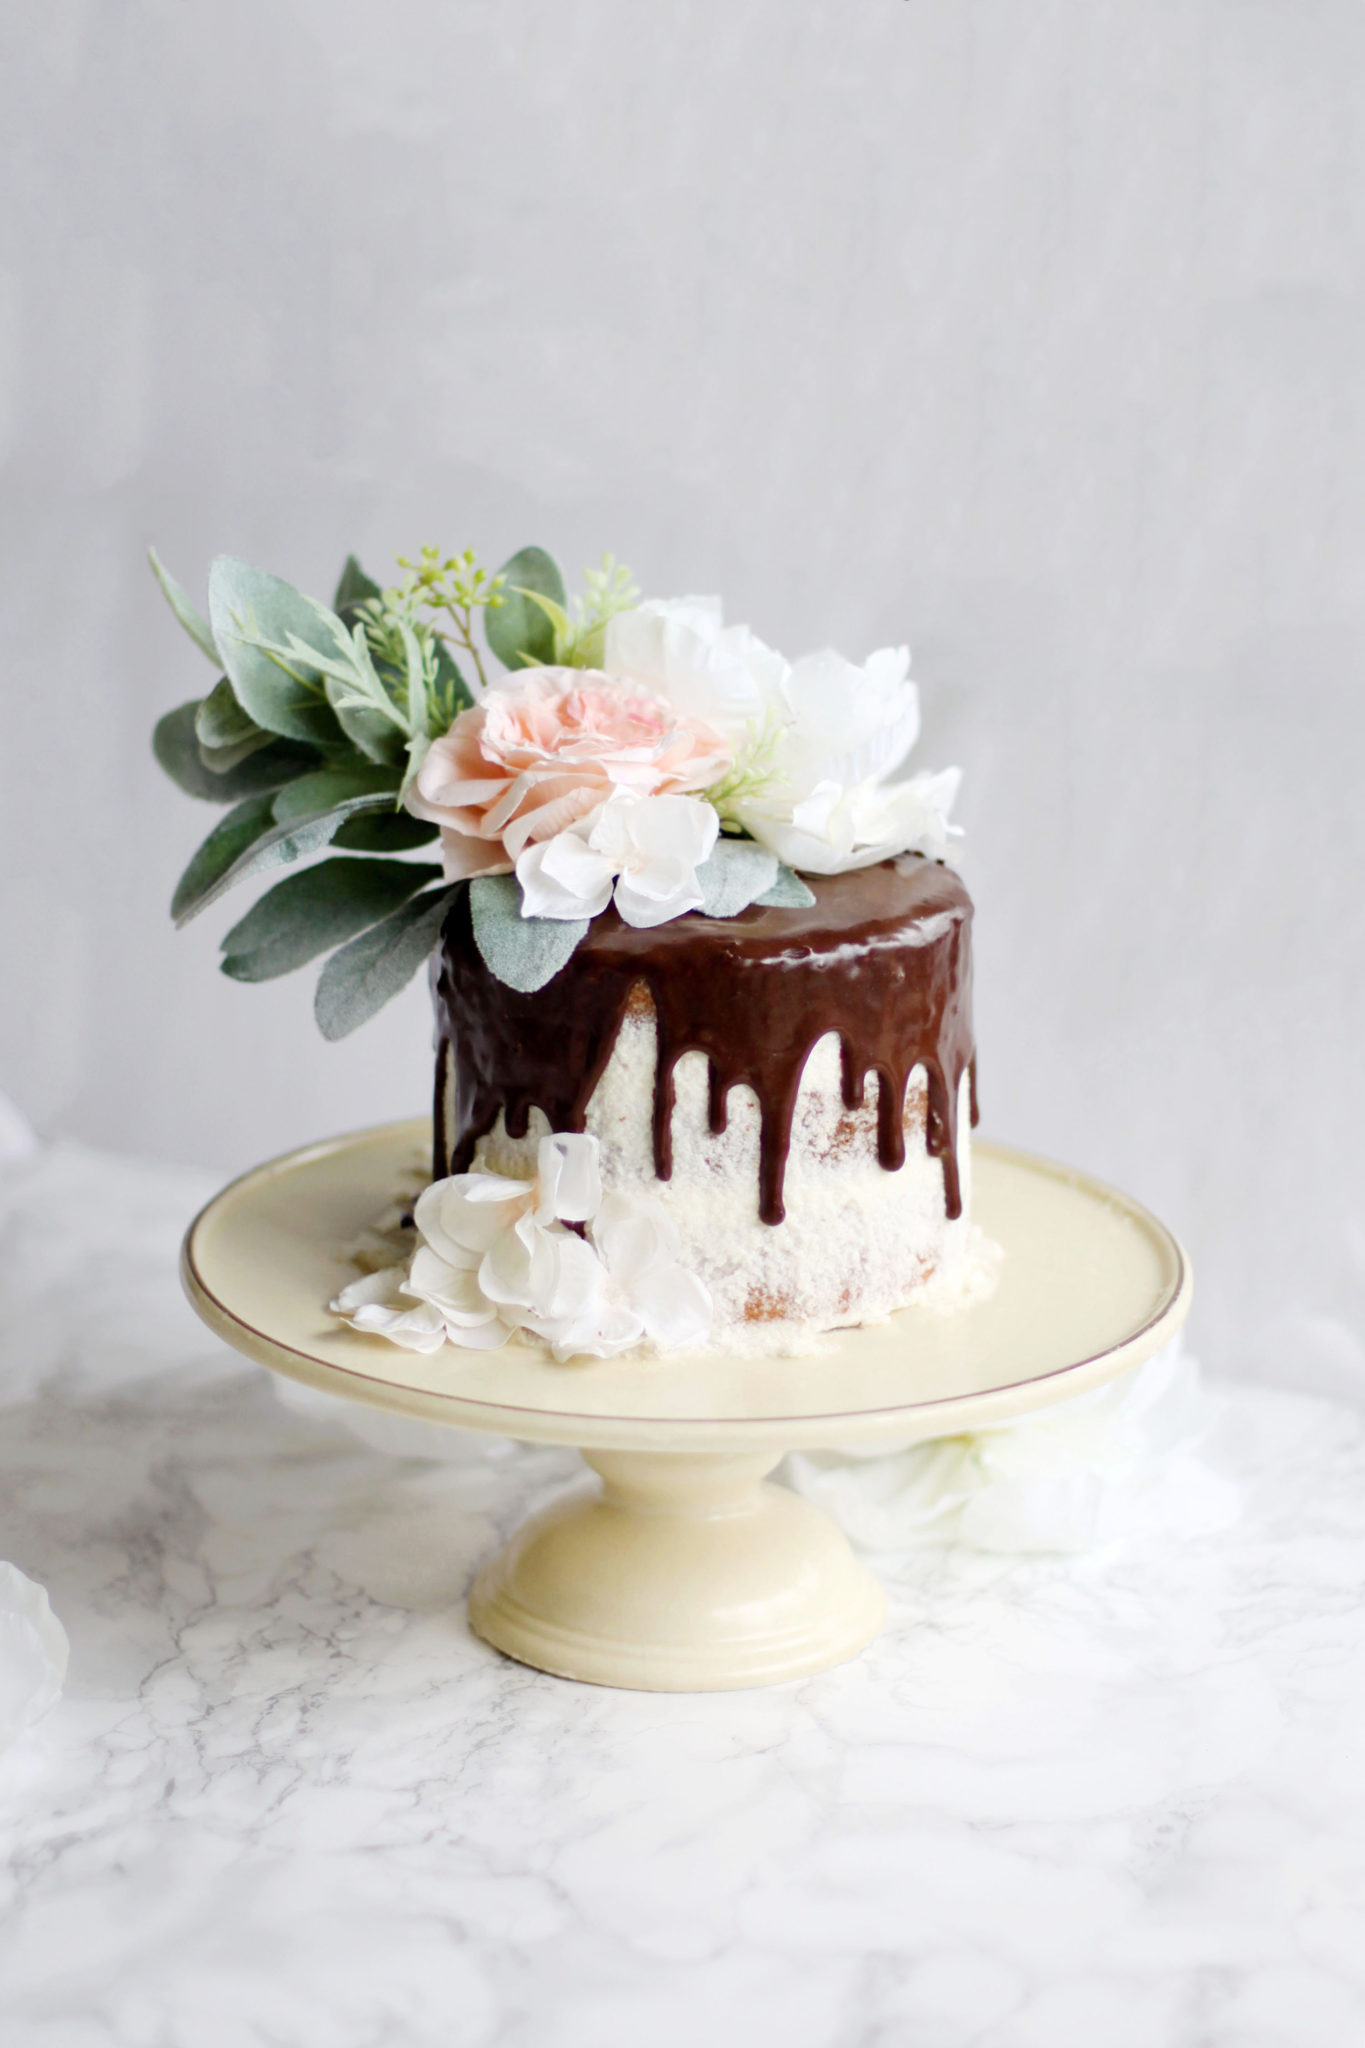
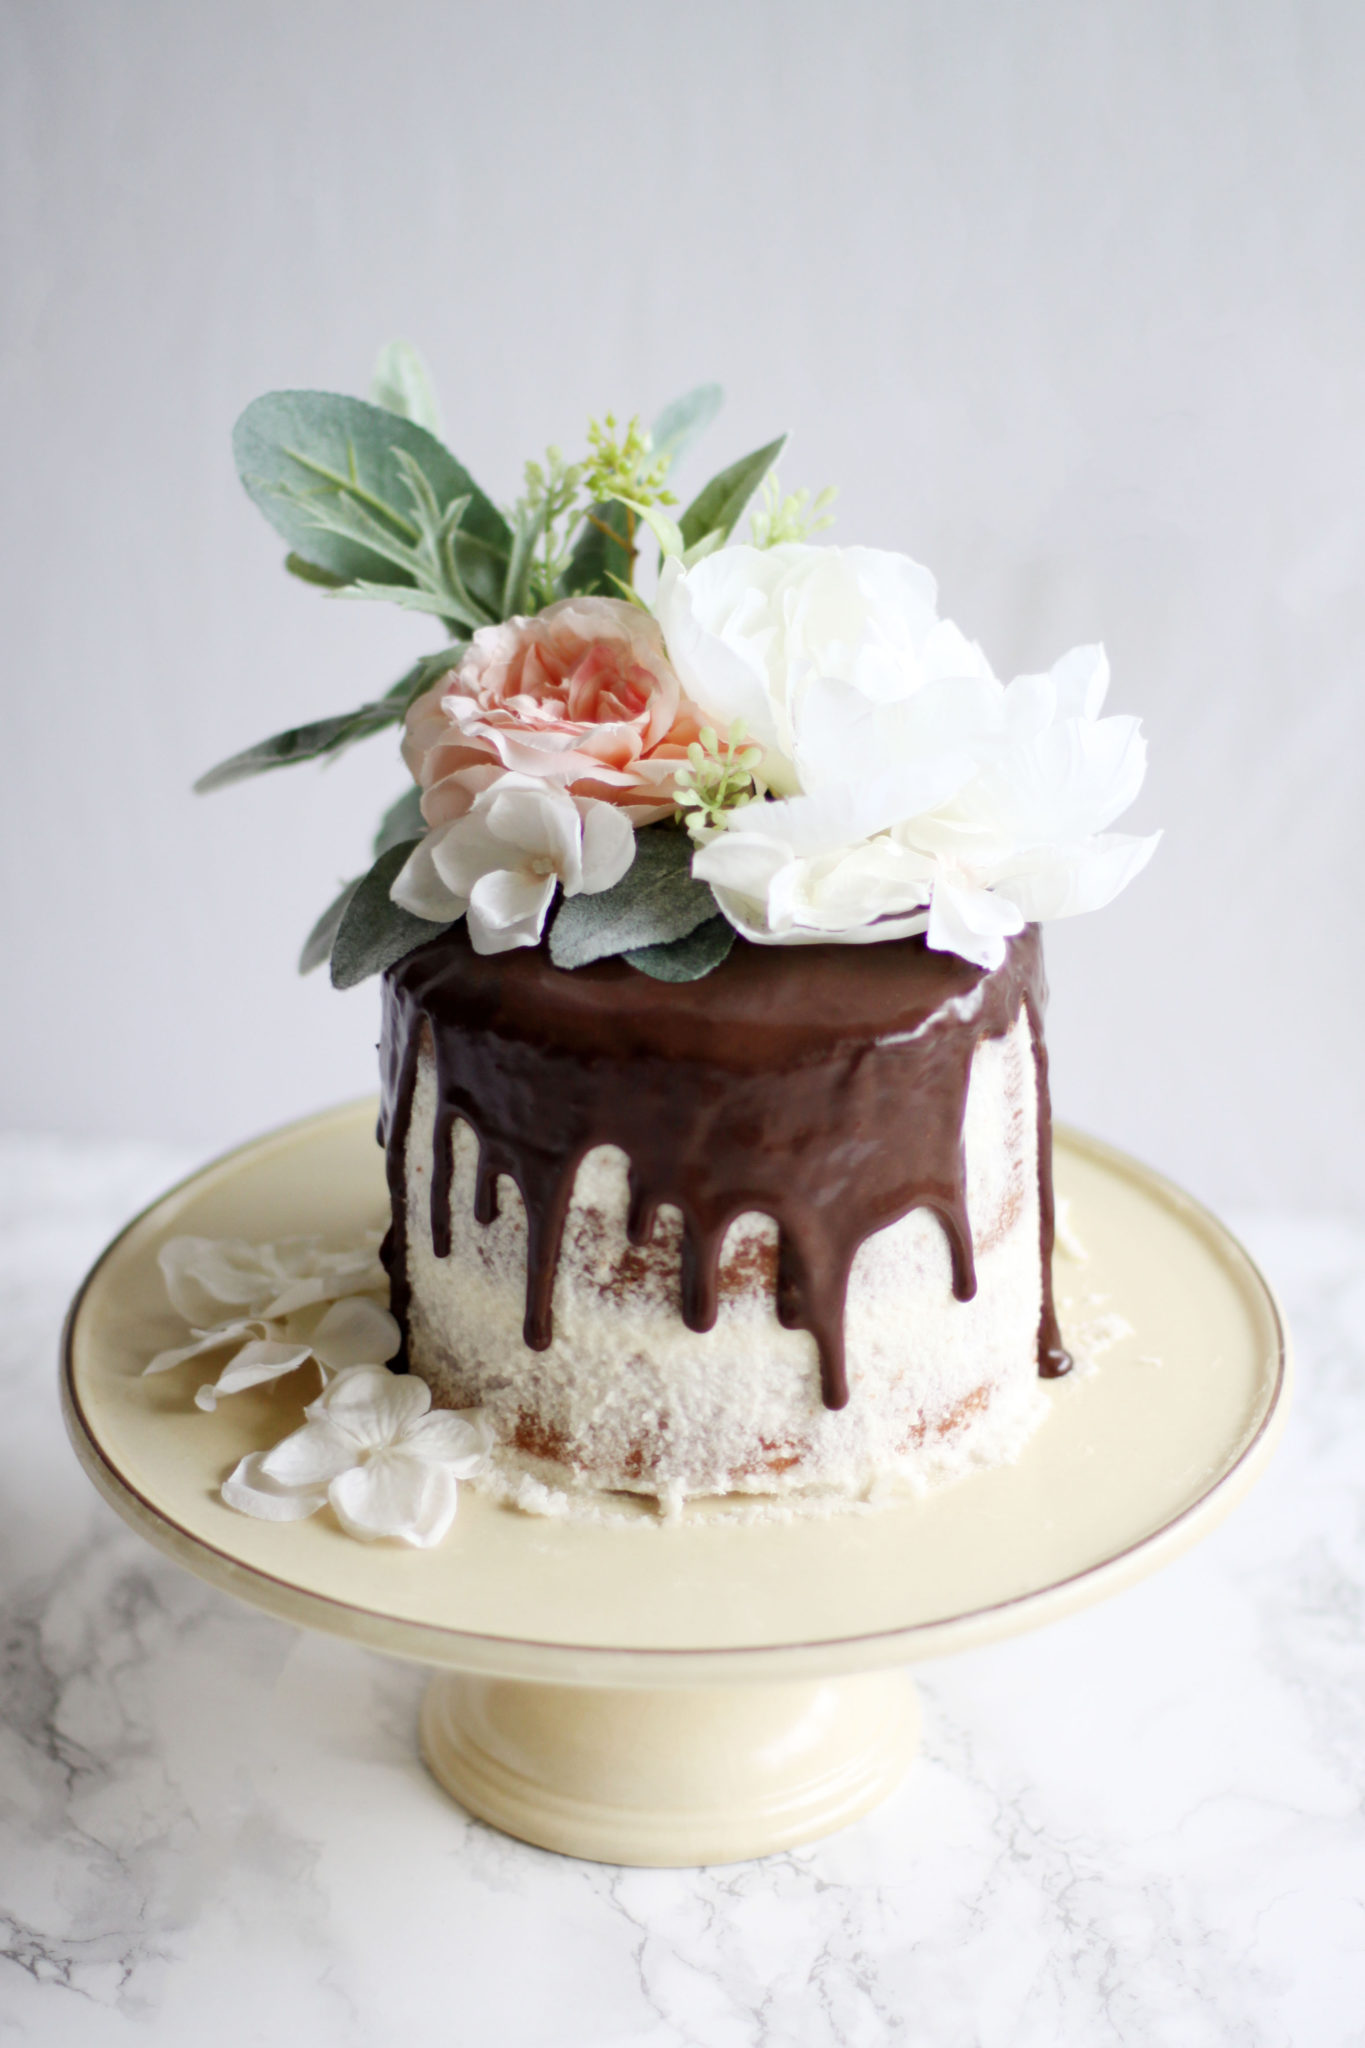
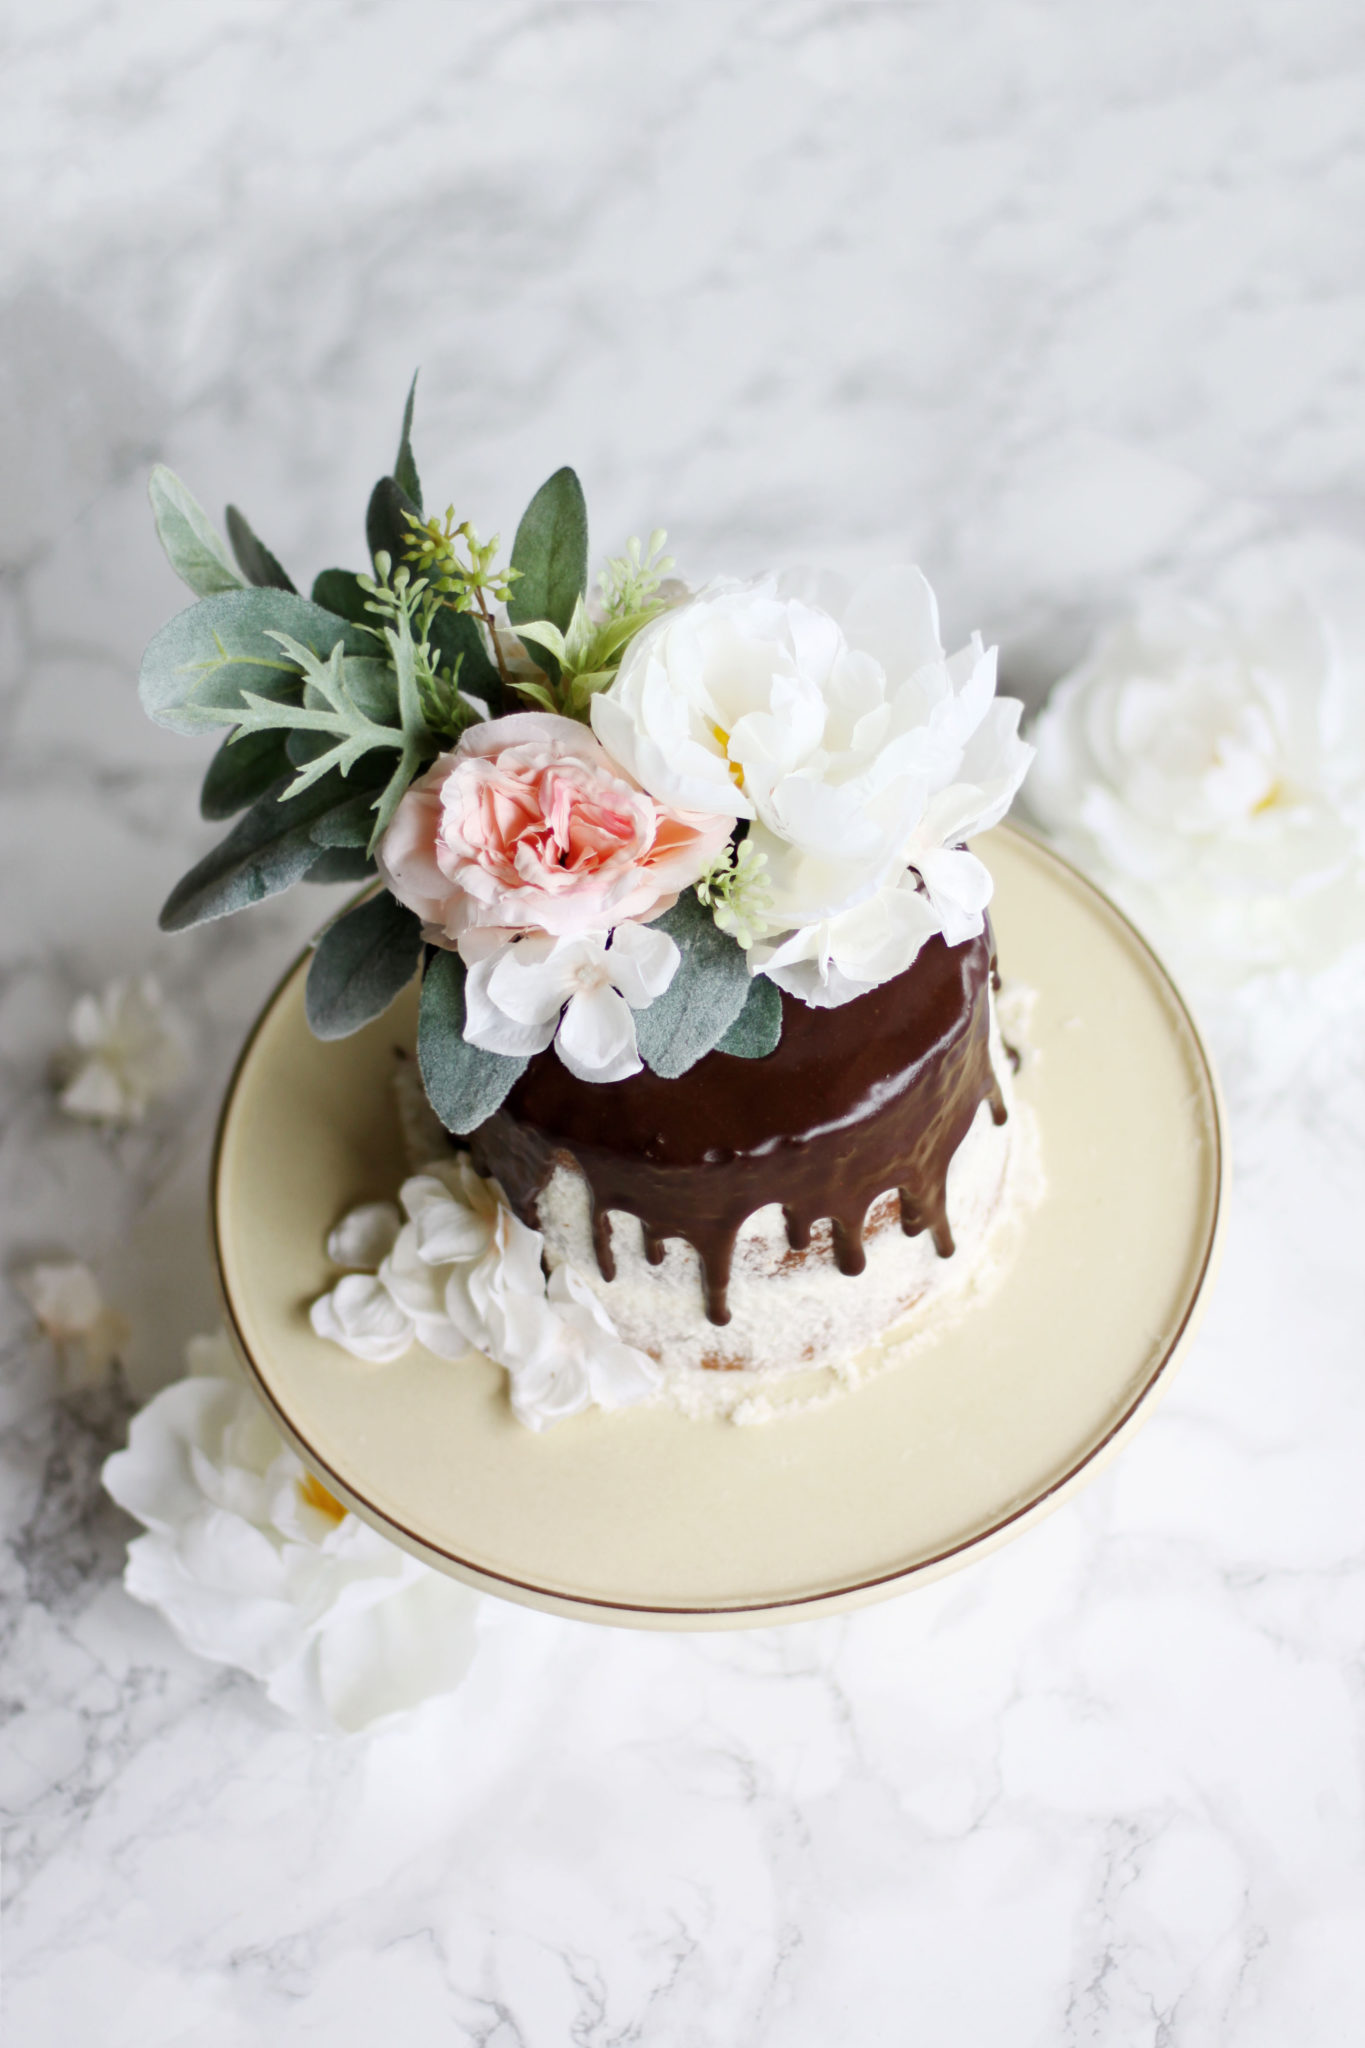
This vanilla bean cake with almond buttercream and creamy chocolate ganache is the perfect dessert for any celebration! (or just because)
Baking has become my favorite weekend activity while being back at home. I love the creativity and challenge behind developing new recipes and learning the science behind it all. And although there are days that I waste ingredients because I bake nothing but a disaster (like the runny macarons I made last week), there are days that make all those failures way worth it.. And let me tell ya, this vanilla bean cake that I baked last Saturday is the perfect example of that.
My mom has been trying to get me to bake with her for years, and I never found an interest in it until recently. I’m so thankful that she can share her personal tips with me while I’m at home and weekends are slow. I can honestly say that my favorite weekends are spent in her kitchen baking all day, and using all of her great baking supplies!
What inspires you? What are your passions and where did they come from? Although living back at home isn’t always the most ideal situation for me, I’m still so thankful that I’ve had these last couple of years with my parents, starting this little blog of mine and learning new hobbies that have brought an abundance of happiness into my life.
My challenge for you is this: If you’re finding yourself in a rut or you’re not pleased with your current situation, keep pushing forward and try something new. You never know where change will take you.
Ok, all done being sappy now! Are you ready for this amazing recipe?
Vanilla Bean Cake With Almond Buttercream and Chocolate Ganache
Yield: Makes one 3-layer 6″ cake
Vanilla Bean Cake
2 1/2 stick unsalted butter, softened
2 cups granulated sugar
5 eggs
2 1/2 cups cake flower
1 tsp baking powder
pinch of salt
1 cup milk
1/2 vanilla bean
Almond Buttercream
2 sticks unsalted butter
4 cups powdered sugar
1/2 cup unsweetened almond milk
1 tsp almond extract
Chocolate Ganache
1/2 cup heavy cream
1/2 cup chocolate chips
Preparing the cake
- Preheat the oven to 350°.
- Use any type of non-stick spray on the inside and bottom of all three 6″ pans.
- (optional) Place each pan on top of parchment paper and trace around it with a pencil. Cut out parchment paper circles and lay your parchment paper on the bottom of each pan and grease the insides again.
- Put butter in mixer and beat on medium speed until smooth. Slowly add sugar until completely combined and fluffy.
- Keeping the mixer at a low speed, slowly add eggs one at a time, letting each one combine before adding the next. Continue to beat on low until fully incorporated.
- In a separate bowl, combine your cake flower, baking powder and salt. Slowly pour the dry ingredients in the mixing bowl – little bits at a time.
- Once your dry ingredients are mixed in, slowly pour in milk and extract while continuing to beat on a low speed.
- Cut your vanilla bean in half and scrape one side into the cake batter. Continue to beat on a low speed until fully incorporated.
- Evenly divide batter between all three pans. Pop pans into the oven for 30-35 minutes or until toothpick becomes completely clean.
- Let cake cool for 20 minutes before removing from the pan and setting on a cooling rack.
- Once completely cooled, wrap cake layers in tinfoil and pop them into the freezer for a few hours.
Preparing the Buttercream
- Beat butter in mixer on medium speed until smooth. Add sugar to combine until fully incorporated and smooth.
- Bring the mixer back to a low speed and add slowly add in milk and extract. It will be watery at first but keep it beating until it gains texture – it’ll come! If you’re still not seeing the texture you’d like, add a touch a of sugar until you get the right consistency.
Preparing the Ganache
- Put heavy cream in microwave for 1-2 minutes (or until very hot). Pour on top of chocolate chips and stir until fully incorporated.
- Stick ganache in the fridge for 15-20 minutes or until it becomes a thicker consistency (but still somewhat runny enough to drip on cake).
Assembly
- Take your cake layers out of the freezer and out of the tinfoil.
- Cut the cake domes off if needed. If you’re not serving this cake for anything special and you don’t care about the looks, you can skip over this step! And if you’re wondering what the heck I’m talking about, watch this video – it’s a very easy process!
- To frost the cake: Put a dab of frosting on the bottom of your cake stand and put down your first layer on top of it. Grab a frosting spatula, scoop a good amount of frosting, and gently frost the top of the cake layer, making sure you’re not frosting the sides just yet. Put your second layer down and do the same. Next flip your third and final layer upside down and put it on top. Instead of starting out by frosting the top, start frosting the sides. Don’t worry about spreading the frosting evenly. Once the sides have frosting finish with frosting the top.
- Take a cake scraper and gently align the blade (vertically) with the cake and slowly scrape off the access frosting until you get the desired naked look you like.
- Lastly, remove the ganache from the fridge and pour it out slowly over the cake starting in the middle. Take a spoon and pull the frosting to the edge of the cake until it slowly drips off the sides.
- Stick in the fridge until ready to serve! I let mine cool for a whole day before serving.
*Faux flowers are great for decorating a cake! If you plan on decorating with flowers, use toothpicks to stage them the way you want.
Enjoy! XO


Recently just started baking and I would definitely love to try this. Great post
Oh wow this looks so AMAZING! Almost too pretty to eat!
Ooh, I need this cake in my life!! Thank you so much for sharing the recipe…it looks delicious, and I love the presentation!! 🙂
That looks and sounds fantastic. I will definitely be trying out this recipe. Thanks.