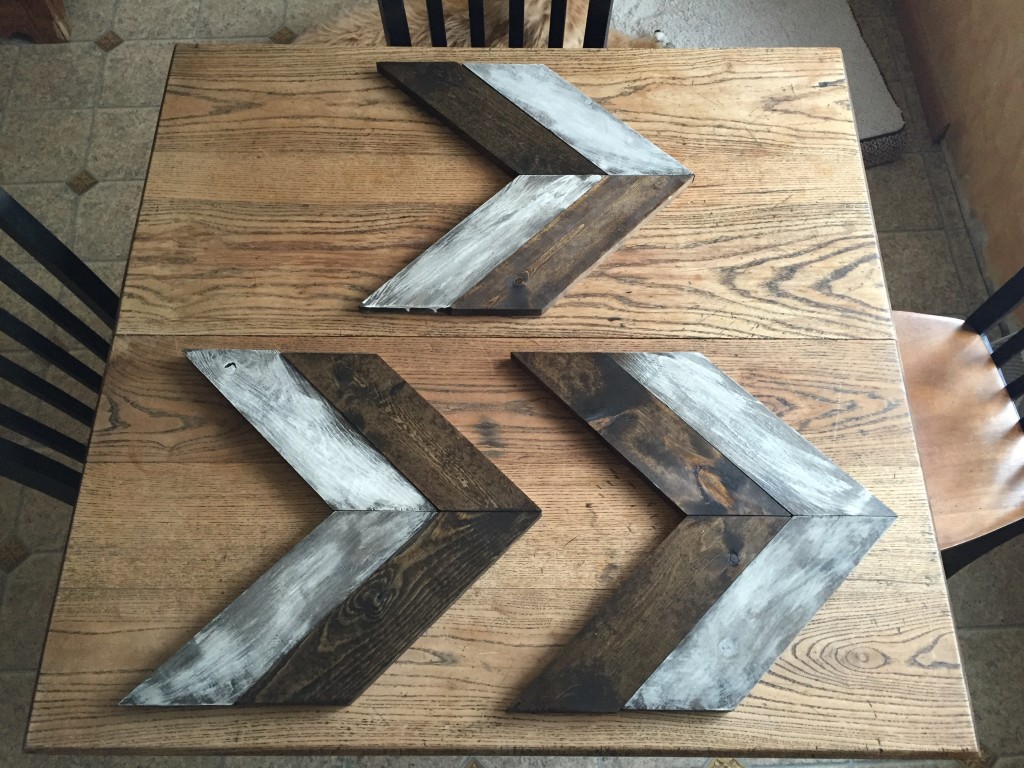
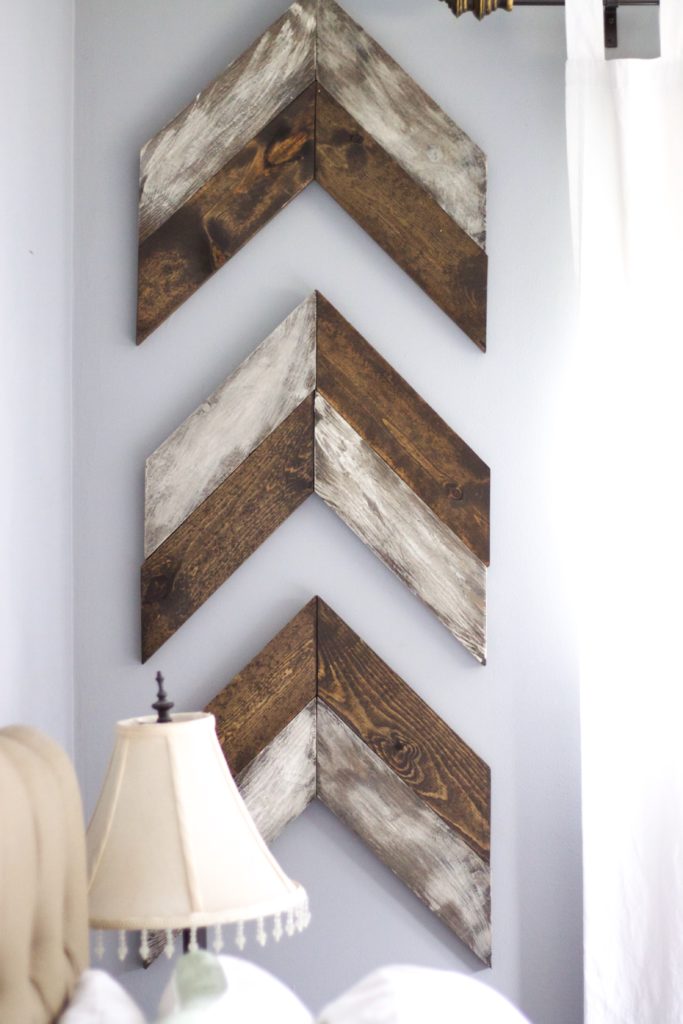
With over 20k repins on Pinterest, you know these distressed colors will look stunning on any wall in your home!
It’s been a long time coming to actually tackle this project, and I’m so happy I did! I love the simplicity of these arrows and the character they bring to any room with the various wood stains and distressing options. If you’re looking for a special decor to add to your walls, this is the project for you! I did a combination of colors on my arrows. I used a dark walnut for the stain, and white chalk paint to distress. This is the first time I ever distressed ANYTHING, and I couldn’t be happier with the turnout! All it took was 2 easy steps in about 20 minutes.
*FYI, this tutorial is only on painting and distressing. If you are looking for cutting and hanging directions, check out Cherished Bliss’ tutorial here. She really breaks down every step and gives great direction with pictures.
What you’ll need:
- Dark Walnut wood stain (I used Minwax)
- an old T-shirt or cloth
- white chalk paint (I used Dutch Boy)
- a small paint brush
- fine wire or sand paper
Step 1. Staining
You will barely need any stain as very little goes a long way.
- Rip off a piece of an old (clean) T-shirt or soft cloth, and soak a tip into the dark walnut stain.
- Rub the surface on all the pieces of wood and let dry for 10-15 minutes.
- Repeat this step for a 2nd coat.
Step 2. Distressing
- After the second coat dries, take the paint brush and dip the tip into the chalk paint.
- Lightly brush over the stained surface, leaving light streaks.
- When the chalk paint dries, take your sandpaper or wire, and rub giving it a more distressed look.
- After getting your color where you want it, let it dry overnight.
Make sure to attach the wood pieces after they dry. Take a look at Ashley’s tutorial (which I used) on how to attach the pieces.
I also tried hanging them horizontally before vertically and found out how horrible I am at aligning nails evenly! In my opinion, hanging them vertically will look better in a smaller space. There are so many ways you can hang these arrows!
I hope you enjoyed this project as much as I did! Feel free to leave any questions below.
xo


How did you make the arrows?
Hi Jillian! Follow this tutorial: http://cherishedbliss.com/diy-wooden-arrow-tutorial/
This post is only on the painting/distressing part.
What kind of wood did you use?
Hi Tonya! I used pine wood 🙂
Hi! What size wood did you get? I see the wood cutting tutorial link but just wanted to know what size your wood was. Thank you 🙂
Hi Sandra! I actually used size 1×6. A little bigger than what the tutorial says (1×4) 🙂
Did you put any kind of finish on these after you were done staining and painting?
Hi Kara! I did not use any type of finish.